
1. Open the Document Editor from Documents or the Viewer
Every converted filing in Working files can be edited directly in your browser. Each save creates a new numbered document version (`v2`, `v3`, etc.) so you never lose your prior baseline and can always run a redline comparison between versions.
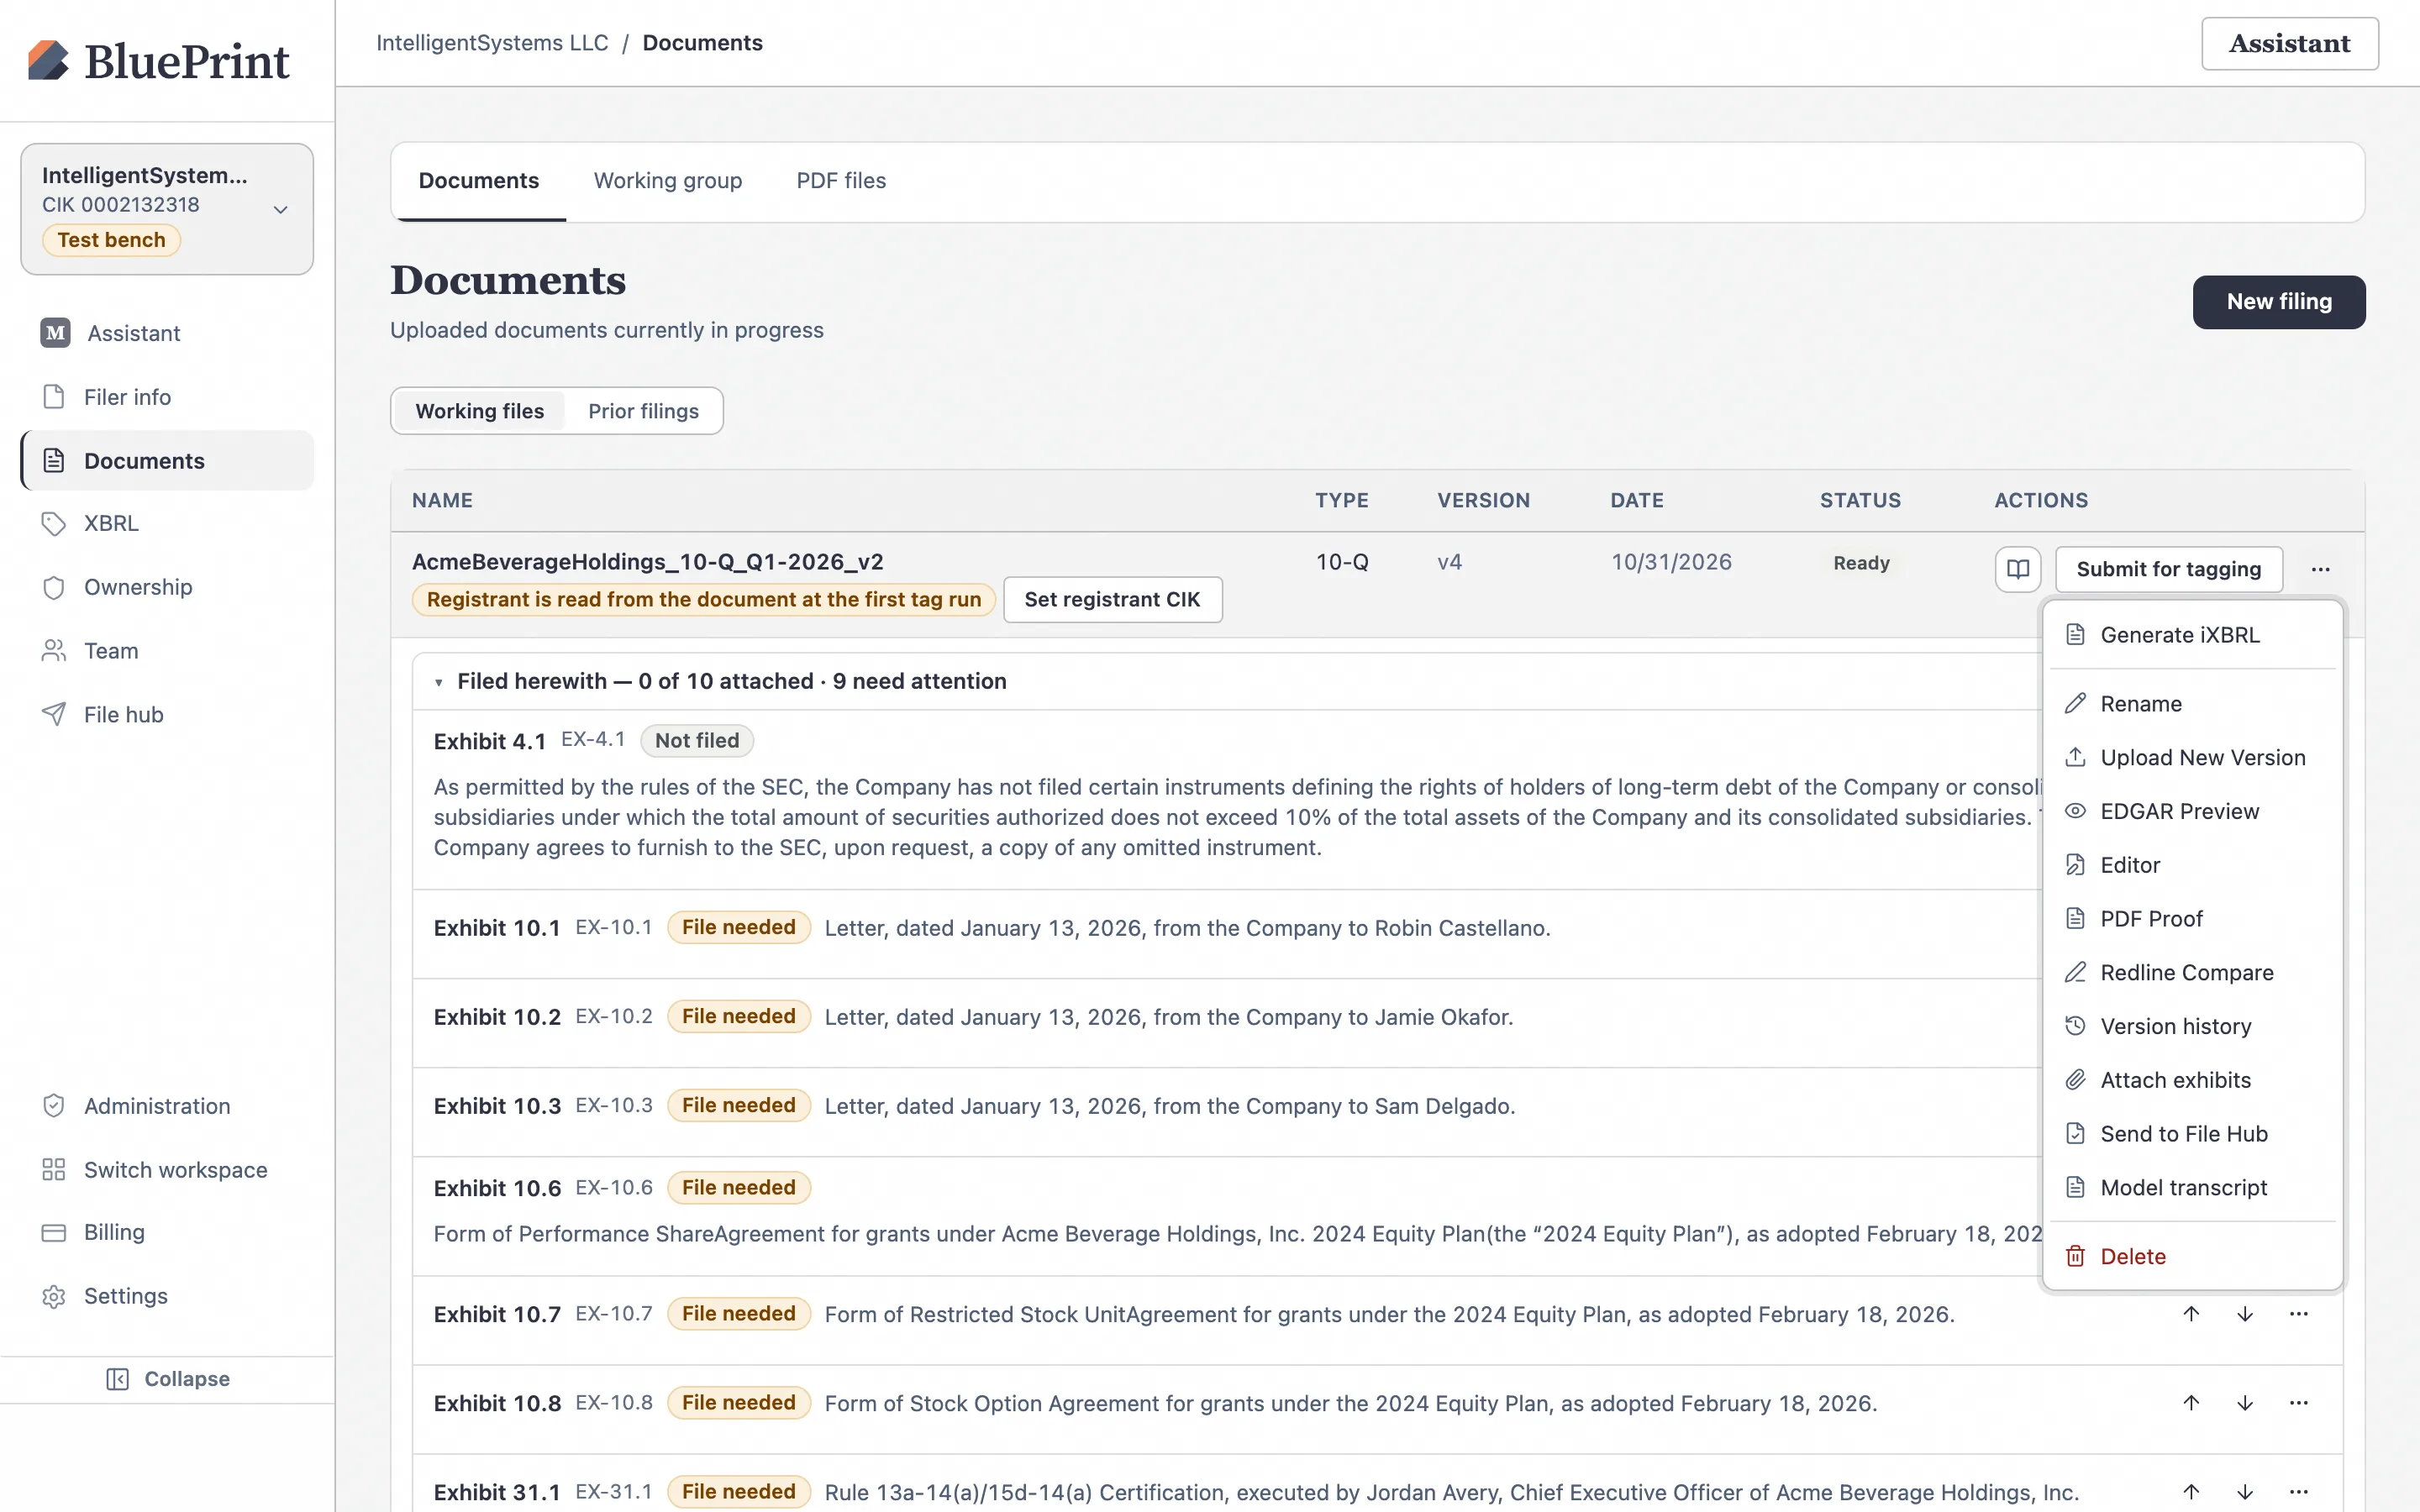
Choose Edit from the filing row menu or Document Viewer
On the Documents page, click ⋯ on the right side of the filing row and choose Edit (the first item in the menu). You can also open the Document Viewer first and click Edit in the top toolbar.
Navigate pages using the Contents outline
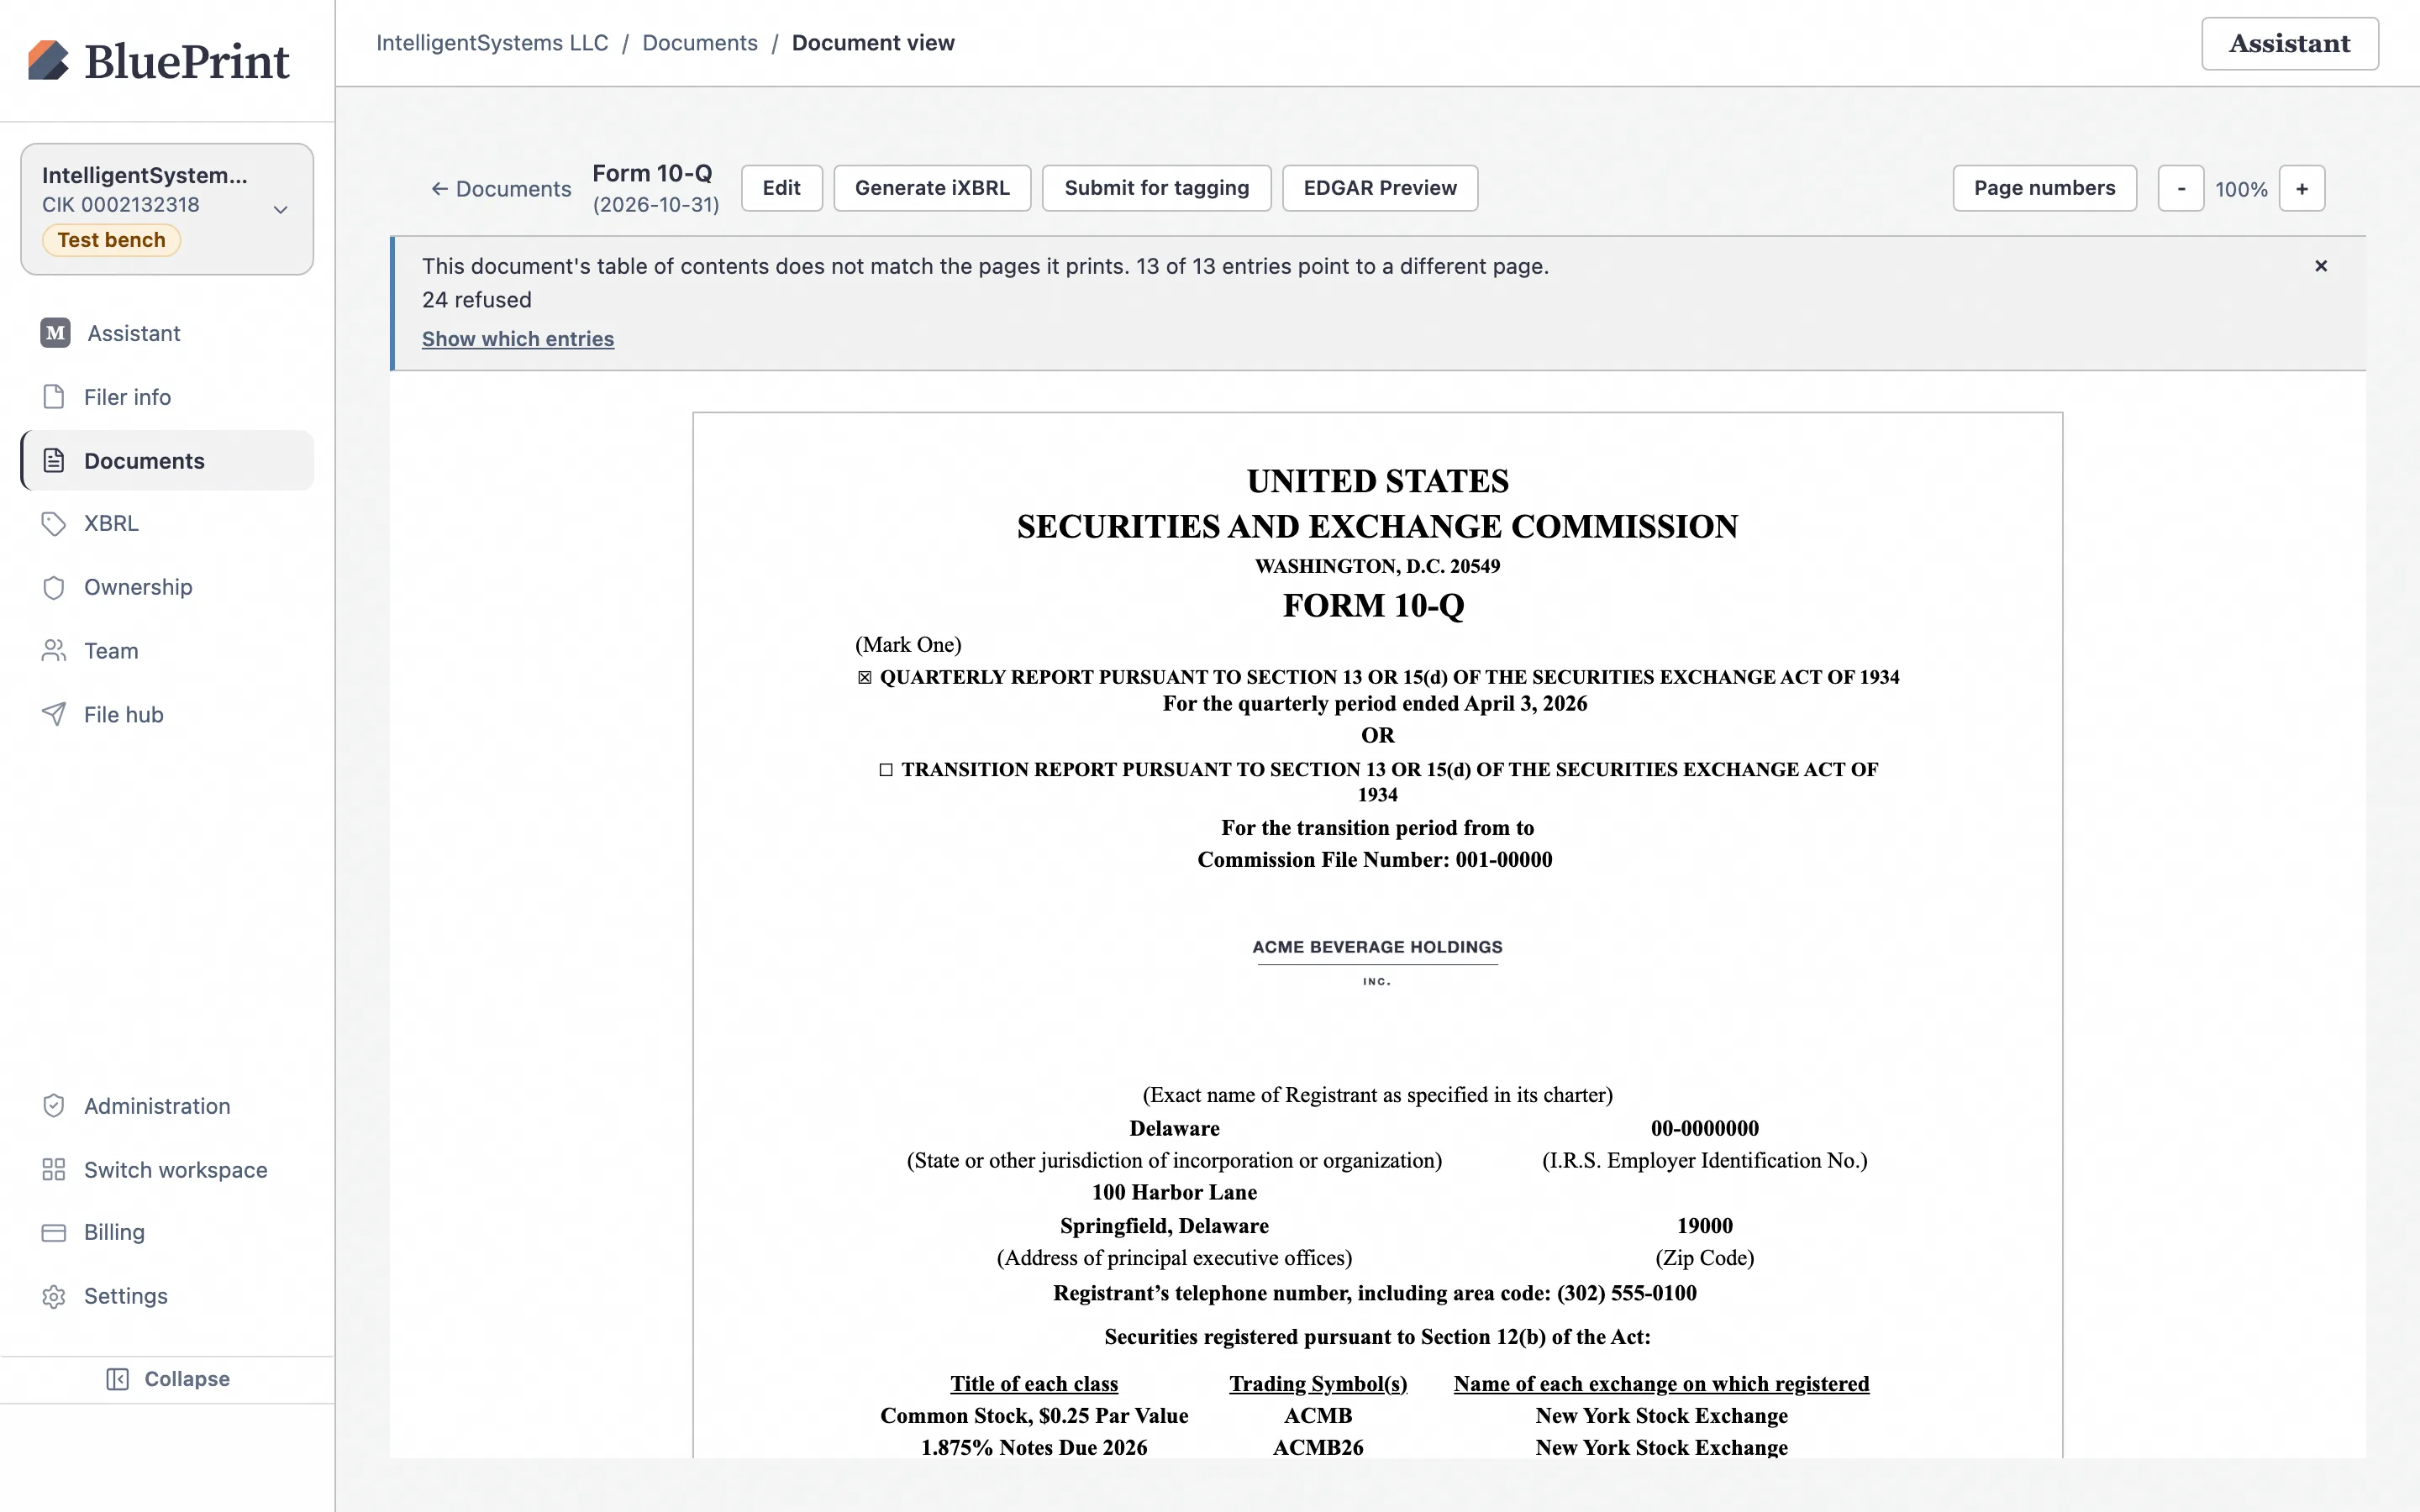
Inside the Document Editor (/documents/edit?id=…), your filing is rendered as individual house-print pages matching the exact page geometry of the Document Viewer. Use the left-hand Contents sidebar to jump directly to any Part, Item, financial statement, or footnote.
2. Format text, headings, and financial tables
The Document Editor’s formatting toolbar is purpose-built for SEC EDGAR HTML compliance—every formatting action outputs clean, EFM-valid HTML without introducing unsupported CSS properties.
| Editor Control Group | Available Actions & Shortcuts |
|---|---|
| Typography & inline styles | Font family (Times New Roman / Tinos, Arial, Courier), font size, Bold (Cmd/Ctrl+B), Italic (Cmd/Ctrl+I), Underline (Cmd/Ctrl+U), Strikethrough, Superscript, Subscript, Text color, and Highlight color. |
| Paragraph & lists | Block style (Normal, Heading 1–4), Left / Center / Right / Justify alignment, Bulleted list, Numbered list, Decrease indent, and Increase indent. |
| Financial tables & rules | Click inside any financial statement or footnote table to edit cells in place while preserving accounting currency symbols ($), right-aligned numeric columns, parenthetical negatives, single top borders, and double-underline totals. |
| Zoom & page navigation | Zoom from 50% to 200% (− / +) and jump to any page number using the page indicator in the toolbar. |
3. Use Tracked Changes (Suggesting mode)
When multiple team members, auditors, or outside counsel review a draft, turn on Track Changes in the editor toolbar so every insertion and deletion is visibly attributed and reviewable.
Toggle Track Changes and review insertions & deletions
Click the Track Changes button in the toolbar to switch from direct editing to tracked-changes mode:
- Insertions are underlined and attributed to the author and timestamp.
- Deletions are struck through in place rather than removed immediately.
- Accept / Reject controls: Select any tracked change and click Accept or Reject in the toolbar, or use Accept All / Reject All once sign-off is complete.
5. Save a new version & Repaginate
As soon as you make an edit, an amber Unsaved badge appears in the editor header and browser tab navigation is guarded so you cannot accidentally close the tab with unsaved work.
Click Save (or press Cmd/Ctrl+S)
Click Save in the top-right corner of the editor toolbar (or press Cmd+S on macOS / Ctrl+S on Windows). BluePrint saves your edits as a new version (for example, advancing the filing from v1 to v2) and refreshes the clean EDGAR HTML artifact automatically.
Click Repaginate and re-verify Table of Contents page numbers
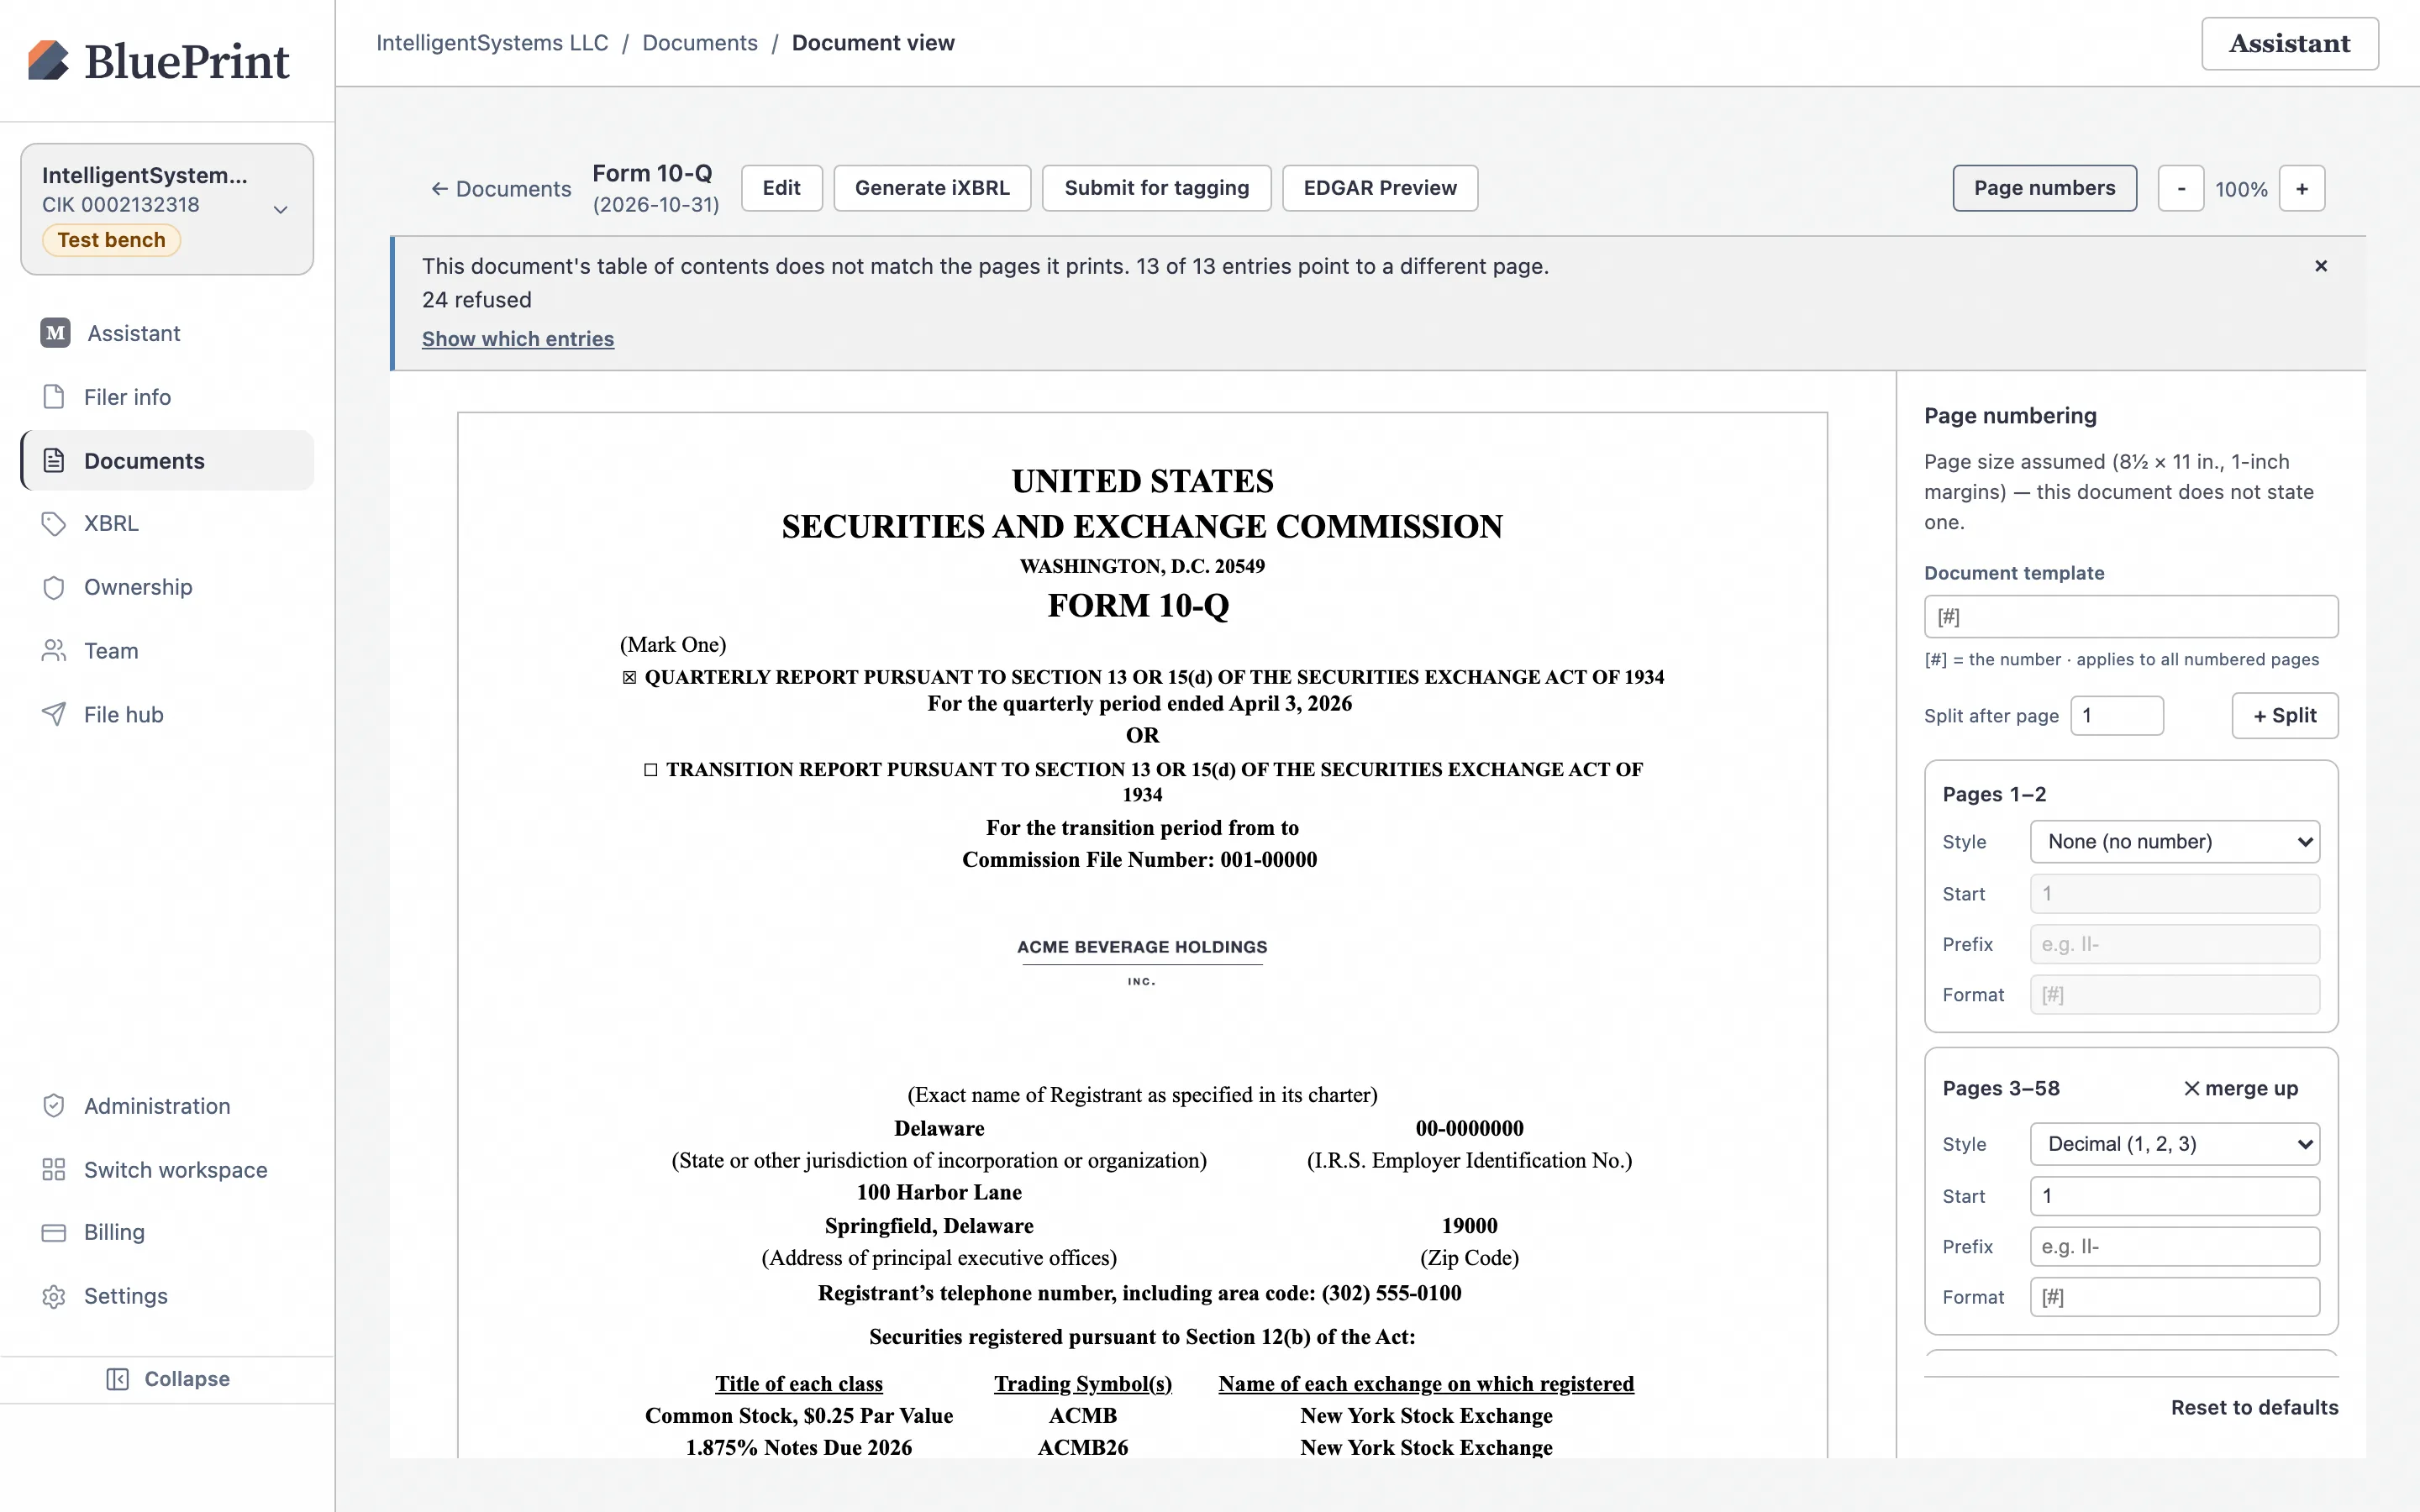
If your edits added or removed paragraphs or table rows, click Repaginate in the editor toolbar. BluePrint re-flows page breaks across the entire document and updates the Page numbers check so you can confirm whether any Table of Contents page numbers shifted.
4. Add anchored Comments & apply Filing Assistant edits
The right-hand side of the Document Editor supports both anchored review comments and interactive Filing Assistant artifact proposals.
Attach a comment to any phrase or number
Highlight any text or table cell in the filing and click Add Comment in the toolbar (or open the Comments pane on the right). Type your note and click Post. Team members can reply in thread, click a comment card to scroll directly to the highlighted passage, and click Resolve when addressed.
Review and apply Filing Assistant draft artifacts
If you ask the Assistant (top-right button) to draft or revise a disclosure section, the Assistant creates a reviewable Artifact card in the editor’s Artifacts drawer. Nothing is inserted into your filing automatically—you inspect the proposed text and click Apply to insert it or Dismiss to discard it.